By Michelle Day
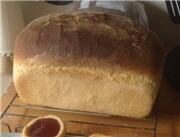
Anyone who has tasted authentic sourdough bread made from a sourdough starter knows that the depth of flavor and beauty of a well made sourdough loaf is hard to surpass. You may think that unless you live in a region well known for its sourdough bread (such as San Francisco) it is nearly impossible to create such a loaf in your home. This is far from true, however, and almost anyone can make superb sourdough bread using a homemade sourdough starter. What’s more, making your own homemade starter is actually a very simple process relying on only two simple ingredients:
- Flour. I recommend using unbleached bread flour, although you can also experiment with using whole wheat and rye flours. Organic flour is ideal, but not absolutely necessary.
- Water. Tap water will work, unless the water in your area is strongly chlorinated (or treated with other chemicals) or bad tasting. If so, you may want to try boiling your water before using, or use bottled water.
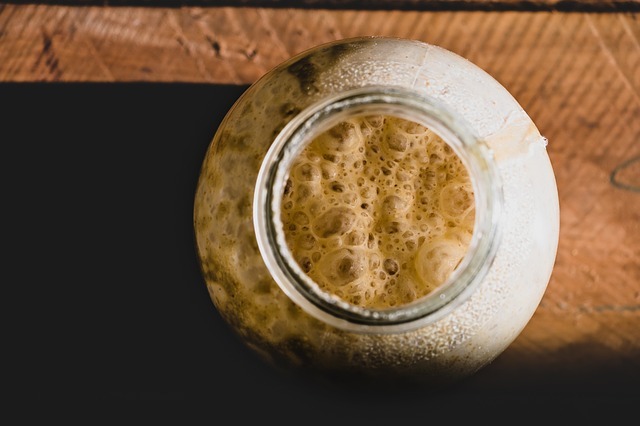
You will also need a container in which to store the sourdough starter. A transparent glass container is best so you will be able to see the activity happening as the sourdough starter develops. A quart size canning jar is ideal, as is an empty glass pickle or mayonnaise jar.
Instructions for Creating a Sourdough Starter at Home
Your homemade sourdough starter will rely on the natural “wild” yeast that is found in every home. The process to create a viable starter that has the power to raise a loaf of bread takes about a week, but it is an exceedingly simple process.
Day One: Clean the jar you will be keeping your sourdough start in well. Then add one cup of flour and one cup of warm water to the jar. Stir well with a wooden or plastic spoon (avoid using a metal spoon with the starter), and then cover the top of the jar with a damp towel and place somewhere warm, ideally between 70 and 80 degrees (F).
Day Two: You may notice a few bubbles in the jar at this point, but if not, do not worry. Do not do anything on day two except ensure it is still in a warm spot in your house.
Day Three: Today you should notice some activity in the jar (bubbles) and a slightly sour smell. You are now going to “feed” the sourdough starter. Discard half of the starter, and then add half a cup of flour and half a cup of warm water to the jar and stir again. Cover the jar and return to its warm location.
Days Four through Seven: Repeat step three on each of these days. Be sure to discard half of the starter each day, however, or you will soon be overwhelmed by your sourdough starter.
By day seven, your sourdough starter will be ready to use. You should notice that the starter now is full of bubbles and expands in volume after its daily feeding. At this point you are ready to bake some sourdough bread using the starter, or you can refrigerate the sourdough starter until you are ready to use it to make sourdough bread.
Michelle Day is a longtime sourdough bread enthusiast and currently maintains a website devoted to explaining how to make and use sourdough starter. You will find many useful sourdough starter recipes, tips and information at her website, as well as a wide selection of sourdough bread recipes.